.svg)

Setting Up 301 Redirects in Webflow
June 27, 2024
•
Justin Kerby
Building a new website is a lot like a road trip. You’re probably going to be a little excited to embark on your journey. Planning the route you’ll take is fun, as is envisioning your destination.
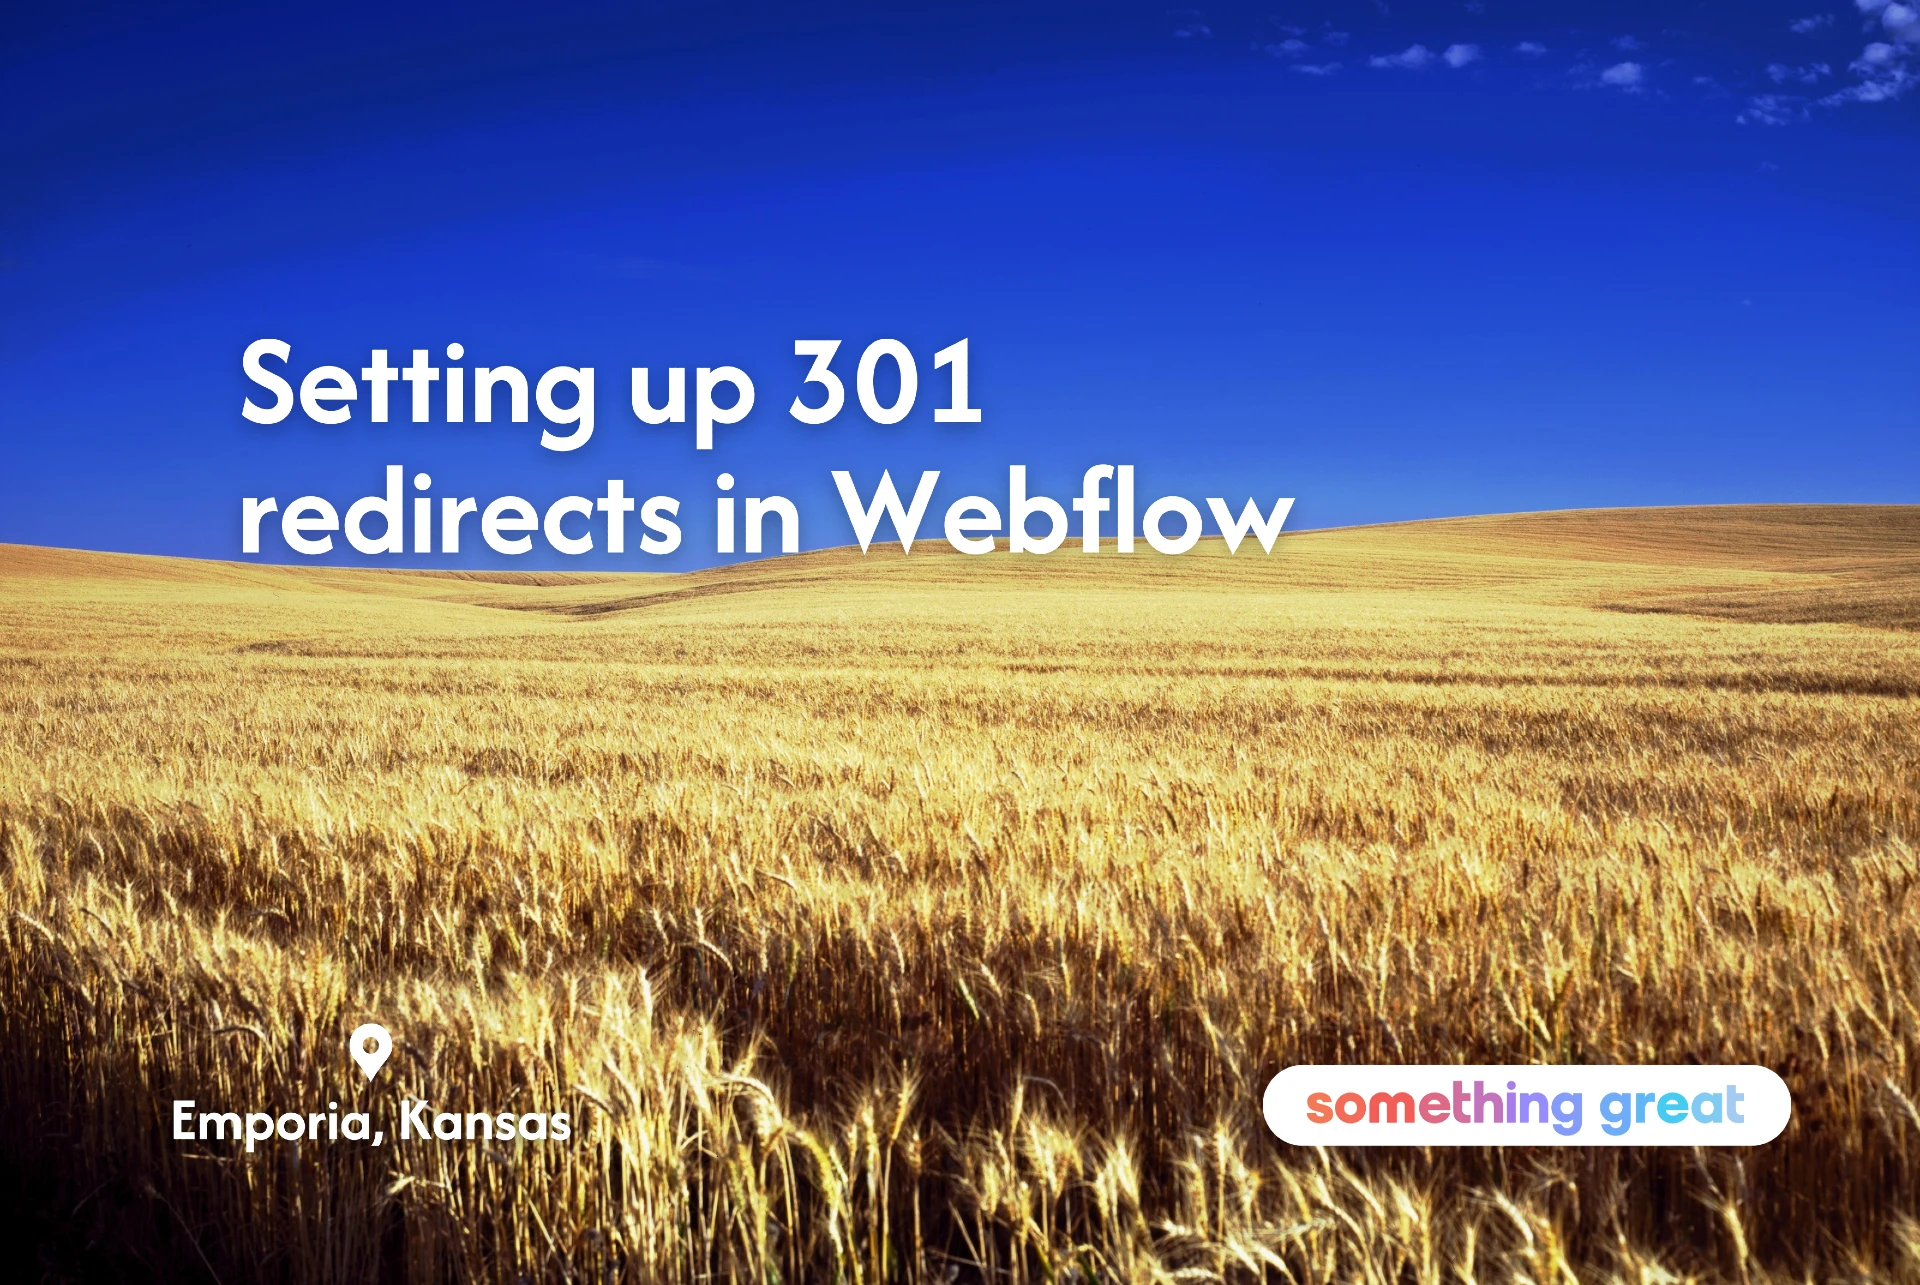
But the truth is, there are, less exciting parts along the way. No one tells you that you have to drive straight across Kansas for seven hours to get to the Rocky Mountains.
I apologize to any Jayhawkers insulted by that analogy.

And so, in the road trip that is building a new website, 301 redirects are the I-70. Not super exciting but a crucial part of getting you where you need to go.
If you’re building your website in Webflow, congratulations, we think you made a great choice. We build most of our client's websites with Webflow.
Here’s how to set up 301 redirects in Webflow
.webp)
The sitemap
First, go to your sitemap. It’s typically located at your domain dot com, forward slash sitemap.xml.

Copy and paste
Next, click posts or pages (or both) depending on what you want to export. This is going to open your sitemap with all of your post and page URLs. Copy and paste everything into a Google Sheet, or an Excel Sheet for you Microsoft folks.
Take a close look
Go through the URLs and delete any that you don’t want to setup 301 redirects for, and get rid of any columns you don’t need. Really, all you need is one column full of the URLs you’d like to setup your redirects for.
Delete root domains
From here, you need to delete the root domains for your URLs. Find and replace your root domain with, well, nothing. So instead of your domain dot com forward slash whatever, you’re left with whatever. Label the header of this column “Old Path”.
What’s old is new again
Next, you guessed it. Make another column called “New Path”. Under this column, paste the new URL that you’d like your old URLs to point to. If you’re simply pointing them to the main homepage, just type a forward slash.
The home stretch
.png)
We’re almost there now, we can practically see the ski hills. Download your spreadsheet as a CSV file and head to your Webflow Dashboard. Click on the publishing tab, and scroll down to the 301 redirects section.
Tap the import button, upload your CSV file, and voila.
You’re not in Kansas anymore.
Need help building a new website? Let our team of Webflow and Wordpress experts help you out. Fill out our contact form to get started.
Thanks for reading, friend. Tap the button below if you're ready to discuss your next project.
Contact UsWritten by
Justin Kerby

Justin is the founder of Something Great Marketing, leading our Vancouver marketing agency. He specializes in content strategy, website design, and branding.
